Case Study
 Everyone of our projects begins the same way...with a clean, undisturbed back yard.
From there we meet with you and discuss your wants, needs and budget while taking
measurements, elevations and noting the architectural style of the house and
surroundings.
Everyone of our projects begins the same way...with a clean, undisturbed back yard.
From there we meet with you and discuss your wants, needs and budget while taking
measurements, elevations and noting the architectural style of the house and
surroundings.
- From there we create a custom design that is a representation of your final project
incorporating design elements such as the swimming pool & spa, patio & steps,
outdoor kitchen & fireplace, accessory buildings, pergolas, material selections,
structural engineering. We also include associated trade requirements including
electrical layout, gas lines, plumbing requirements, etc.
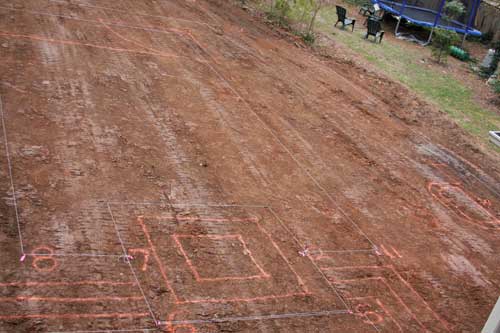
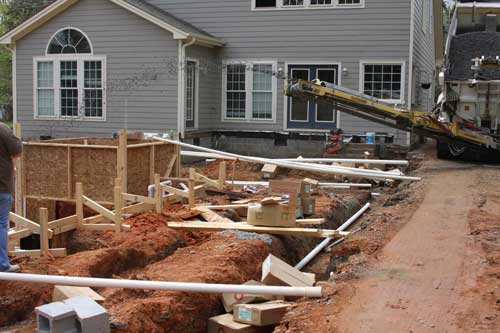
- Once the plan is complete, we gain approval and permits from the local Building &
Zoning Inspection Office. Then construction can start. The first step is to clear all
existing topsoil, trees & obstructions from the site of the project. Then we are able to lay
out the footers, foundations and swimming pool and spa as well as all
 necessary
trenches needed for electrical, plumbing, gas, irrigation, low voltage wiring, drain lines,
etc.
necessary
trenches needed for electrical, plumbing, gas, irrigation, low voltage wiring, drain lines,
etc.
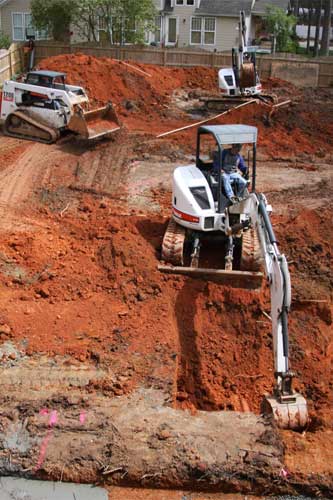
- From there the excavation can begin. There’s no way to sugar coat this one...it’s
going to get dirty. In many cases we can utilize some of the excavated soil on site but
if there is not space for this soil it will have to be trucked away. Frank Bowman
Designs never uses excavated soil under any of its patios, decks or walkways unless
they are specifically designed by our engineer to be self supporting. Soil, no matter
how long it sits, will not adequately compact to form a stable base. We always use
washed stone as required by our engineers as the base for these elements.
 Now that the excavation is complete the concrete footers for retaining walls,
structures, fireplaces, grills, etc. can be poured. Additionally, the swimming pool &
spa excavation and any utility trenches are cleaned out using a hand shovel to
ensure clean, level excavations, free of rocks, roots and any other items that may
damage items placed in them.
Now that the excavation is complete the concrete footers for retaining walls,
structures, fireplaces, grills, etc. can be poured. Additionally, the swimming pool &
spa excavation and any utility trenches are cleaned out using a hand shovel to
ensure clean, level excavations, free of rocks, roots and any other items that may
damage items placed in them.
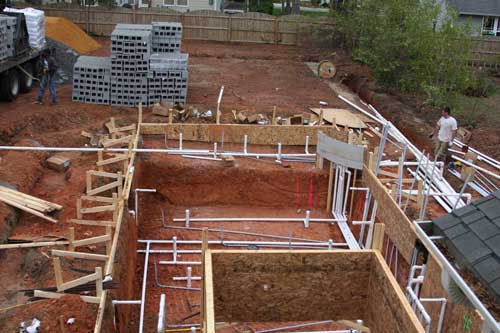
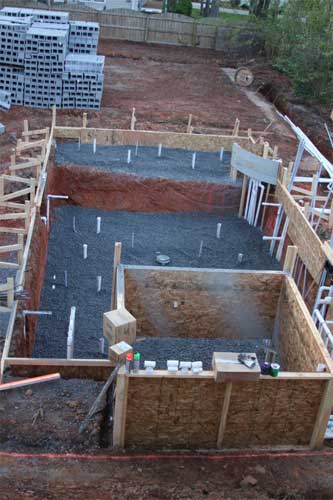
- While forming the pool we use only rigid materials as required by the American
Shotcrete Association and the American Concrete Institute. Notice the use of solid
wood framing with plywood and OSB construction completely around the pool & spa.
Frank Bowman Designs does not use pegboard, "shooting paper," or any of the other
cheap & inferior methods that have become “standard” in the swimming pool industry
even though these methods are specifically noted as "sub-standard" by the ASA &
ACI.
 The PVC plumbing goes in throughout the swimming pool & spa as well as electrical
conduit for the the lights. Frank Bowman Designs uses advanced hydraulic formulas
to design all of the plumbing runs. We always use larger pipes and smaller pumps to
provide proper circulation allowing your system run more efficiently, cooler and
quieter.
The PVC plumbing goes in throughout the swimming pool & spa as well as electrical
conduit for the the lights. Frank Bowman Designs uses advanced hydraulic formulas
to design all of the plumbing runs. We always use larger pipes and smaller pumps to
provide proper circulation allowing your system run more efficiently, cooler and
quieter.
- In many tight spaces where we can’t maneuver an excavator or loader, we use a
“stone shooter” attached to the dump truck allowing us to “shoot” the stone up to 70
feet and into the bottom of the swimming pool & spa. The stone is used in the bottom
of the swimming pool to level the excavation, cover & support the PVC plumbing and
to allow for proper drainage & ground water control. The stone is leveled and
compacted using a plate tamp.
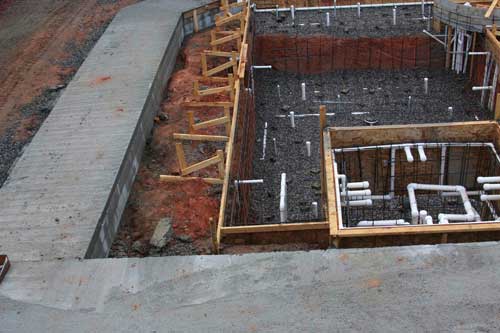 In this project we needed to install the porch & walkway sub base before we could
install the concrete in the swimming pool because portions of the porch were used as
the form for the swimming pool concrete. Our sub base concrete is installed as per
the engineers specifications and the surface is left extremely rough to allow for proper
adhesion between the concrete and the stone patio.
In this project we needed to install the porch & walkway sub base before we could
install the concrete in the swimming pool because portions of the porch were used as
the form for the swimming pool concrete. Our sub base concrete is installed as per
the engineers specifications and the surface is left extremely rough to allow for proper
adhesion between the concrete and the stone patio.
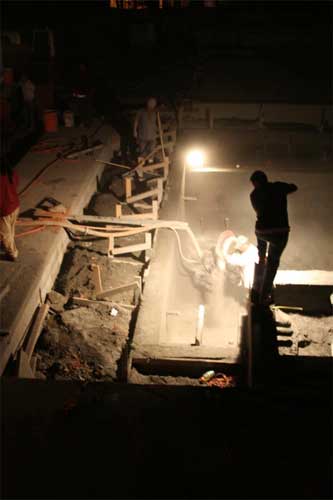
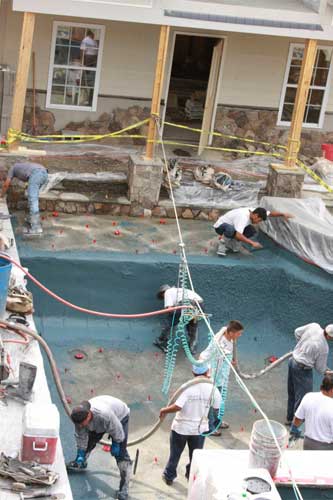
- Now the concrete can be added to the swimming pool. The shotcrete or gunite (in
this installation) is applied by certified contractors that do nothing other than install
this type of concrete. The process is long, dirty and loud. Our crews were finishing
the floors “under the lights” on this one. If at all possible we prefer to install the
concrete shell monolithically. This means that all the concrete is applied at one time
without stopping and starting creating “cold joints” in the swimming pool & spa shell.
However, in many larger or more complex projects are unavoidable and are just as
structurally sound if installed correctly.


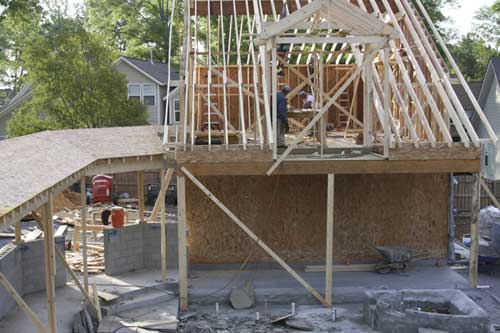 Once the concrete swimming pool & spa are installed we cure the concrete
according to the engineers specifications which generally involves keeping the
concrete wet / damp for at least 7 days to properly hydrate the concrete. Once the
concrete was properly cured, we began construction on the porch, covered
walkways and pool house.
Once the concrete swimming pool & spa are installed we cure the concrete
according to the engineers specifications which generally involves keeping the
concrete wet / damp for at least 7 days to properly hydrate the concrete. Once the
concrete was properly cured, we began construction on the porch, covered
walkways and pool house.
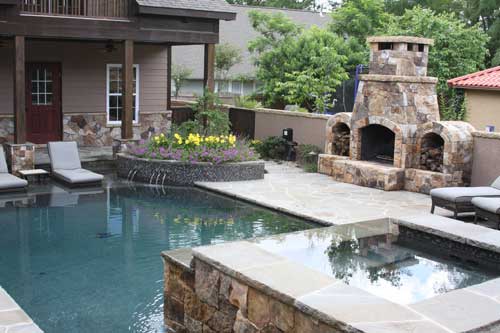
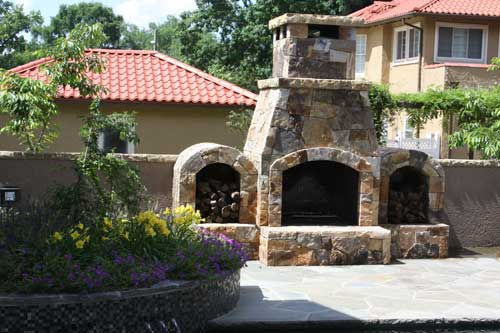
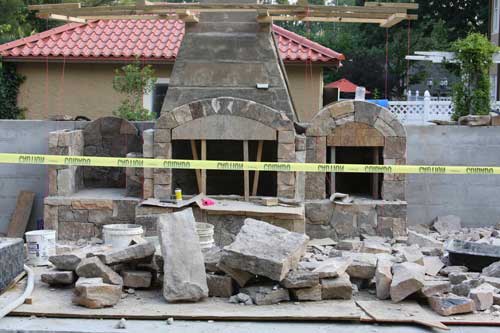
- The next step in the process was to install the Pennsylvania Bluestone patio,
building stone spa surround, outdoor fireplace, outdoor kitchen, water table and
column bases. This was done while the boxing and siding were going on the pool
house and covered walkway as well as the electrical, plumbing and HVAC rough-in.
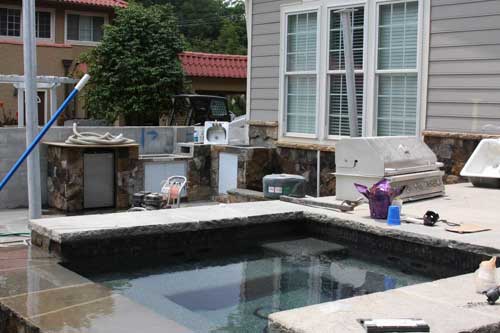
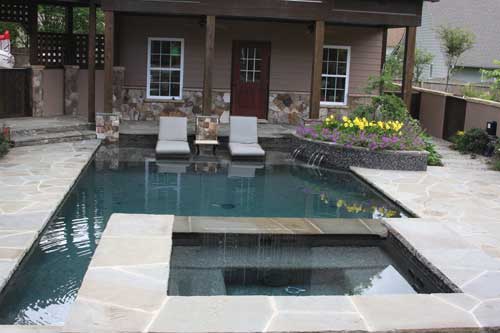
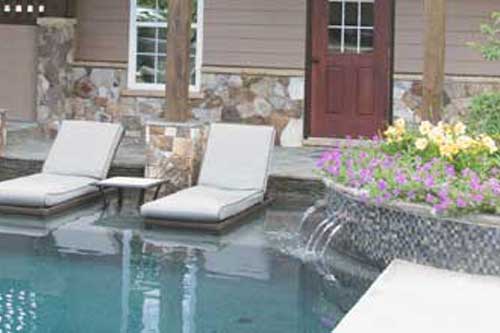
- Pebble Tec was next. This project used Ocean Blue Pebble Sheen with 2 parts of
shimmering sea added. The waterline tile and raised planter is Oceanside Glass tile
with integrated stone pieces.

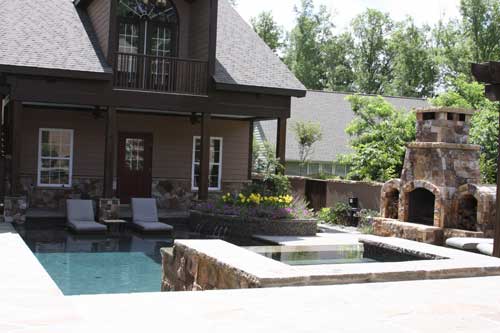
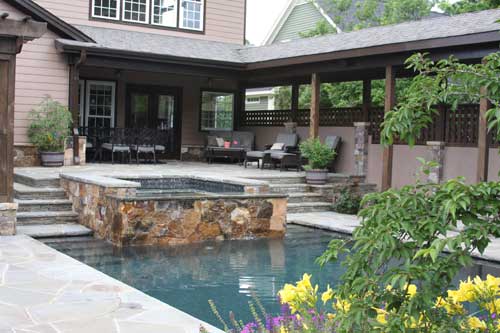
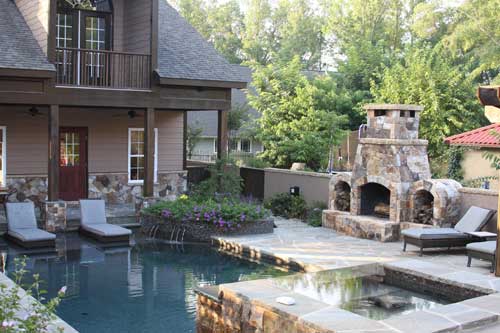
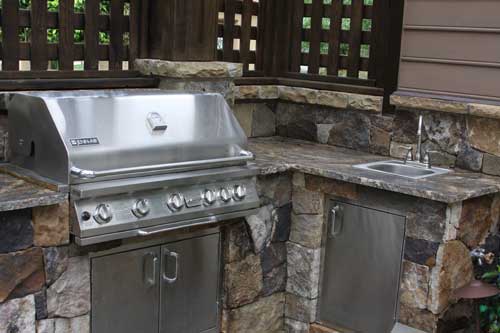
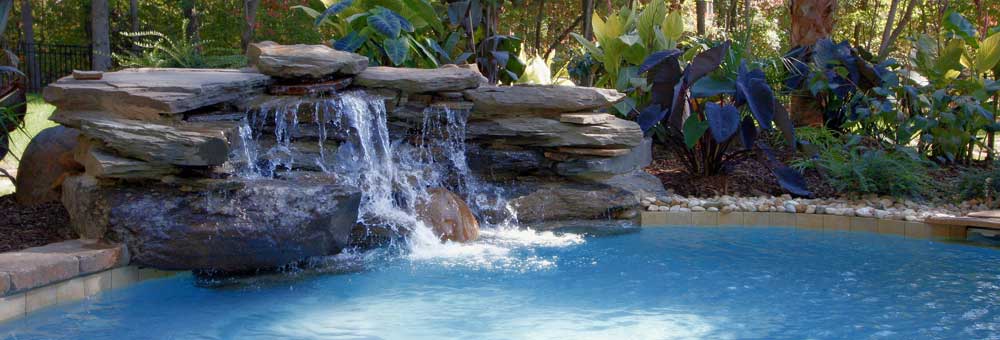
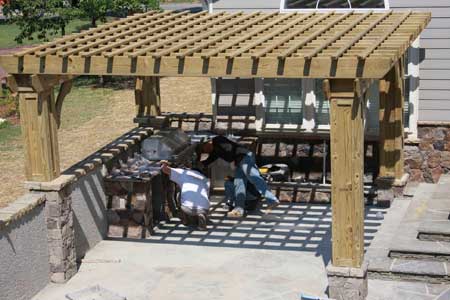
- The final step is to add water to the custom swimming pool & spa, install the
landscaping, irrigation & landscape lighting and install the outdoor kitchen
appliances. From there, there is nothing left to do other than invite your friends and
family over to enjoy your new outdoor living space.